Εισαγωγή
This manual provides comprehensive instructions for setting up, operating, and maintaining your AlphaTrak 3 Pet Blood Glucose Monitoring Kit. This kit is designed for accurate at-home blood glucose monitoring in diabetic cats, dogs, and horses, offering a convenient solution for pet owners.
Τι Περιλαμβάνεται
Your AlphaTrak 3 kit includes the following components:
- AlphaTrak 3 μέτρα
- Two Batteries (3V, CR2032)
- 50 Ταινίες δοκιμής AlphaTrak 3
- Συσκευή τρυπήματος και 30 νυστέρια
- Θήκη μεταφοράς
- Ημερολόγιο διαβήτη
- Οδηγός χρήστη
- AlphaTrak 3 Control Solution (4 ml)
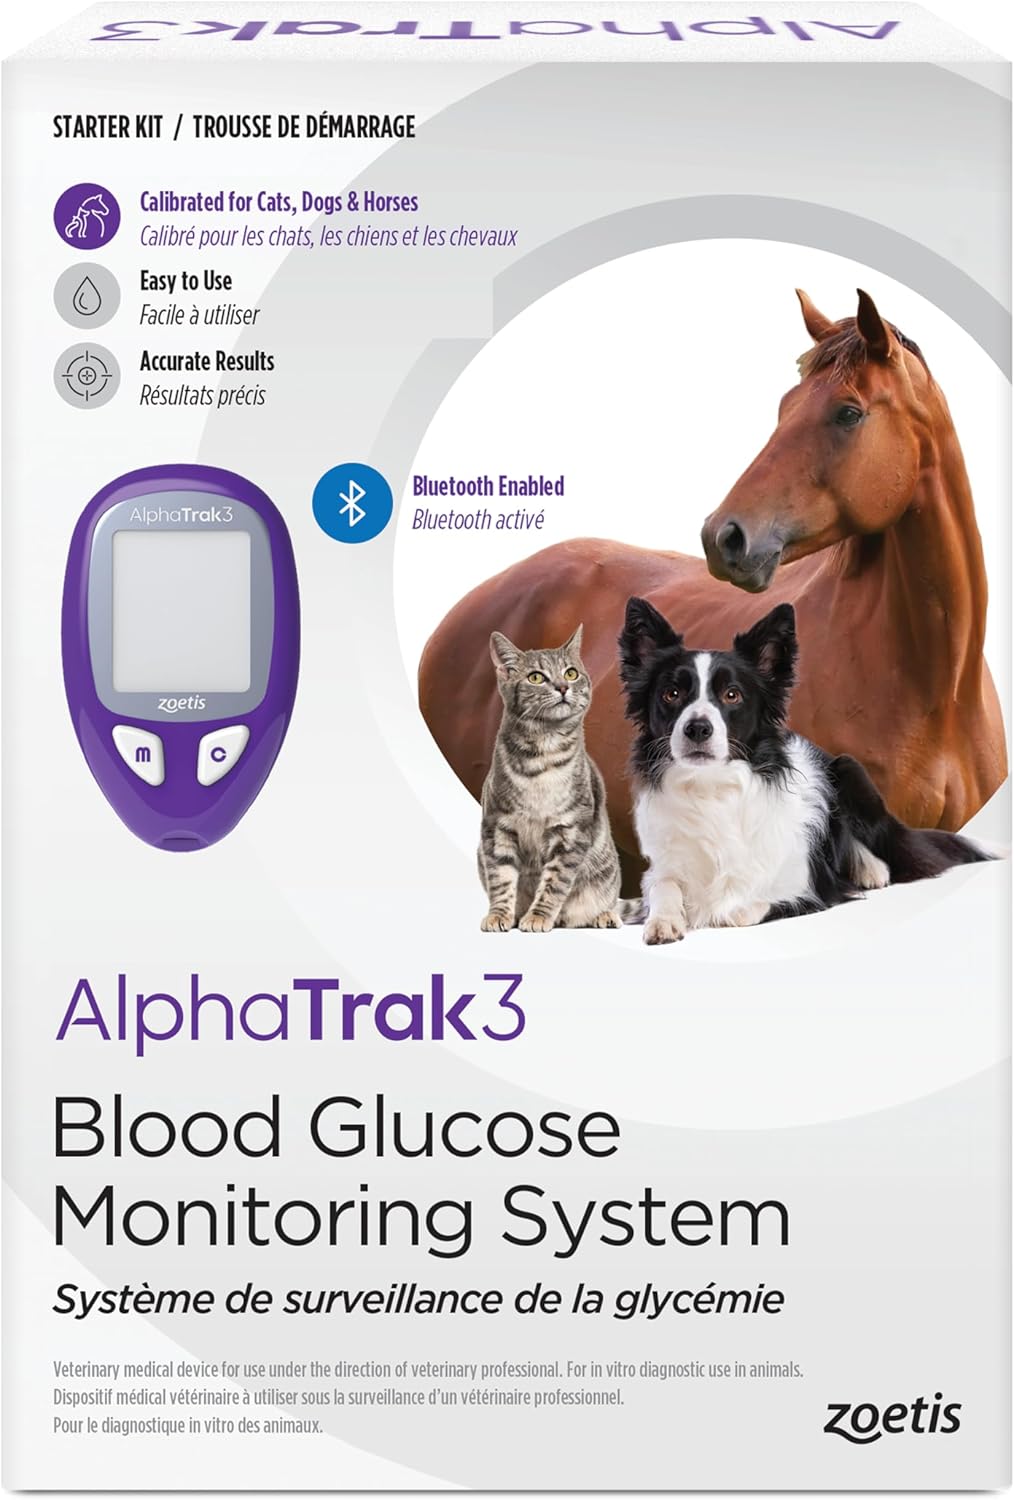
Image: The complete AlphaTrak 3 Pet Blood Glucose Monitoring Kit, including the meter, test strips, lancing device, control solution, and carrying case.
Ρύθμιση
Meter Setup: Lot Code and Species Selection
Before using your AlphaTrak 3 meter for the first time, or when opening a new vial of test strips, you must set the test strip lot code and select the correct species (cat, dog, or horse) to ensure accurate readings.
- With the meter off, insert the code strip (found with your test strips) into the meter to turn it on.
- Match the code displayed on the meter to the code shown on the test strip vial using the "C" button.
- Press the "M" button to save the lot code and remove the code strip.
- To select the correct species, press and hold the "C" button, then press "M" to cycle through the species options. Release "M" when the desired species is displayed.
Video: Instructions on how to set the test strip lot code and select the species on the AlphaTrak 3 meter.
Setting Up Glucose Warnings
You can configure high and low glucose warnings on your meter:
- With the meter off, press and hold the "C" button for more than 3 seconds to enter the Bluetooth and Glucose Warning Settings.
- Press "M" to bypass the Bluetooth settings.
- Press "C" to turn high and low glucose warnings on or off, and to increase or decrease the glucose values.
- Press "M" after each selection to save.
Video: Guide to setting up glucose warning levels on the AlphaTrak 3 meter.
Lancing Device Assembly
The lancing device is used to obtain a small blood sample from your pet. It features adjustable depth settings for comfort and effectiveness.
- Ξεβιδώστε το καπάκι της συσκευής τρυπήματος.
- Insert a new lancet into the lancet holder.
- Twist off the protective cap from the lancet, exposing the needle.
- Replace the lancing device cap, ensuring it is securely fastened.
- Adjust the depth setting by rotating the cap to your desired level (e.g., 3 for many pets).
- Τραβήξτε προς τα πίσω τον κοχλία όπλισης μέχρι να κάνει κλικ, υποδεικνύοντας ότι είναι έτοιμος για χρήση.
Οδηγίες Λειτουργίας
Preparing for Sample Συλλογή
Proper preparation of the sampling site is crucial for obtaining an accurate and sufficient blood sample.
- Πλύνετε τα χέρια: Always wash and dry your hands thoroughly before handling the meter or your pet.
- Επιλέξτε Sampling Site: Consult your veterinarian for the recommended sampling site for your pet. Common sites include:
- Marginal ear vein (dogs and cats)
- Paw pad (dogs and cats)
- Leg callus (dogs only)
- Εσωτερικό χείλος (μόνο για σκύλους)
- Warm the Site: Gently rub or apply a warm cloth to the chosen site to increase blood flow. If using a wet cloth, place it inside a plastic bag to avoid diluting the blood sample.
- Avoid Messy Collection: To help the blood form a clean droplet without getting into hair, you can apply a dab of petroleum jelly to the site or shave the area prior to lancing.
Video: Instructions on how to prepare your pet for blood sample collection, including site selection and warming techniques.
Εκτέλεση δοκιμής ελέγχου
A control test ensures your meter and test strips are working correctly. Perform a control test when you open a new vial of test strips, suspect the meter is not working correctly, or if your pet's symptoms do not match the test results.
- Insert a new test strip into the meter to turn it on.
- To mark the test as a control, press and hold the "C" button for 3 seconds until the control solution bottle icon appears on the screen.
- Gently invert the control solution bottle before use.
- Apply one drop of control solution to the edge of the test strip. You will hear a beep, and a horizontal line will appear on the screen.
- The meter will count down and display the result.
- Compare the control solution result to the test range printed on the test strip vial. The result should fall within this range.
- Remove and discard the used test strip. The meter will shut off automatically.
Video: Step-by-step guide on how to perform a control test with your AlphaTrak 3 meter.
Collecting a Blood Sample and Checking Glucose
Μόλις το sampling site is prepared and the lancing device is ready:
- Place the lancing device firmly against the prepared sampling site on your pet.
- Press the release button to activate the lancet and create a small puncture.
- Gently squeeze the area around the puncture to form a small blood droplet.
- Insert a new test strip into the AlphaTrak 3 meter. The meter will turn on and display a code.
- Touch the tip of the test strip to the blood droplet. The meter will draw the blood into the strip.
- The meter will count down and display your pet's blood glucose reading in seconds.
- Record the result in your diabetes diary or the AlphaTrak mobile app.
- Dispose of the used lancet and test strip safely in a sharps container.

Image: A person gently holding a cat, illustrating the calm approach for obtaining a small blood sample for glucose monitoring.
Ενσωμάτωση εφαρμογών για κινητά
The AlphaTrak Mobile App enhances your pet's glucose monitoring experience by providing additional functionality:
- Record and graph your pet’s glucose levels over time.
- Record daily activities, such as food intake and exercise.
- Share data directly with your veterinarian.
- Set up notifications and reminders for testing and medication.

Image: A smartphone screen showing the AlphaTrak mobile app interface, with glucose readings and activity logs for a pet named Lucy.
Συντήρηση
To ensure the longevity and accuracy of your AlphaTrak 3 kit:
- Store the meter and test strips in the provided carrying case in a cool, dry place.
- Keep test strip vials tightly closed after removing a strip.
- Do not use expired test strips or control solution.
- Clean the meter exterior with a soft, damp cloth. Do not immerse the meter in water.
- Regularly perform control tests to verify meter accuracy.
Αντιμετώπιση προβλημάτων
If you encounter issues with your AlphaTrak 3 kit, consider the following:
- Ανακριβείς αναγνώσεις: Ensure the lot code on the meter matches the test strip vial. Check for expired test strips or control solution. Perform a control test.
- Ο μετρητής δεν ενεργοποιείται: Ελέγξτε αν οι μπαταρίες έχουν τοποθετηθεί σωστά και είναι επαρκώς φορτισμένες. Αντικαταστήστε τις μπαταρίες εάν είναι απαραίτητο.
- Ανεπαρκής Αιμοδοσίαample: Εξασφαλίστε το sampling site is adequately warmed. Adjust the lancing device depth setting if needed.
For persistent issues or unexpected results, please refer to the detailed User’s Guide included with your kit or contact customer support.
Προδιαγραφές
| Χαρακτηριστικό | Λεπτομέρεια |
|---|---|
| Συμπεριλαμβανόμενα εξαρτήματα | Meter, test strips, lancets, lancing device, control solution, carrying case, logbook |
| Κατασκευαστής | Ζωήτης |
| Αριθμός μοντέλου είδους | 10026571 |
| UPC | 087219711750 |
| Βάρος αντικειμένου | 0.634 ουγγιές (0.02 κιλά) |
| Διαστάσεις πακέτου αντικειμένων | 6.65 x 4.61 x 2.2 ίντσες |
| Κοινό-στόχος | Σκύλοι, Γάτες, Άλογα |
| Σύνθεση κυψέλης μπαταρίας | CR2032 (2 περιλαμβάνονται) |
Εγγύηση και υποστήριξη
The AlphaTrak 3 kit comes with a 2-Year Manufacturer Warranty. For any assistance, please contact customer support within the US at 1-888-ZOETIS-1 or find your local customer support contact information at www.alphatrak.com.
Additional instructional videos are available at alphatrakvideos.com.


