1. Εισαγωγή
This manual provides detailed instructions for the installation, operation, and maintenance of your Vivotek IB9380-H 5MP IR Outdoor Network Bullet Camera. Please read this manual thoroughly before using the product to ensure proper setup and optimal performance. This camera is designed for outdoor security surveillance, offering high-resolution imaging and infrared capabilities for reliable monitoring.
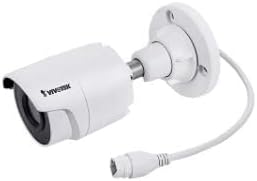
Image 1.1: Vivotek IB9380-H 5MP IR Outdoor Network Bullet Camera overview.
2. Πληροφορίες Ασφάλειας
- Πηγή ενέργειας: Use only the specified AC/DC power adapter. Ensure the power supply is stable and meets the camera's requirements (3.5 watts).
- Περιβάλλον εγκατάστασης: This camera is rated for outdoor use (IP9380). Avoid installing in locations with extreme temperatures, high humidity, or corrosive substances beyond its operating specifications.
- Χειριζόμενος: Do not drop or subject the camera to severe shock. Avoid touching the lens directly.
- Αποσυναρμολόγηση: Μην επιχειρήσετε να αποσυναρμολογήσετε ή να τροποποιήσετε την κάμερα. Αυτό μπορεί να ακυρώσει την εγγύηση και να προκαλέσει ζημιά.
- Καλωδίωση: Ensure all cables are properly secured and protected from environmental damage or tampering.
3. Περιεχόμενα συσκευασίας
Βεβαιωθείτε ότι όλα τα στοιχεία υπάρχουν στη συσκευασία:
- Vivotek IB9380-H 5MP IR Outdoor Network Bullet Camera
- Κιτ τοποθέτησης (βίδες, αγκύρια τοίχου)
- Οδηγός γρήγορης εγκατάστασης
- Αδιάβροχη υποδοχή για καλώδιο Ethernet
4. Ρύθμιση
4.1. Physical Installation and Mounting
The Vivotek IB9380-H camera is designed for wall mount installation. Choose a suitable location that provides the desired field of view και βρίσκεται σε κοντινή απόσταση από συνδέσεις ρεύματος και δικτύου.
- Προετοιμάστε την επιφάνεια τοποθέτησης: Mark the drilling points on the wall using the mounting template (if provided) or by holding the camera's base against the surface.
- Τρυπήστε τρύπες: Drill pilot holes at the marked positions. Insert wall anchors if mounting on drywall or masonry.
- Ασφαλίστε την κάμερα: Attach the camera's mounting base to the wall using the provided screws. Ensure it is firmly secured.
- Ρύθμιση γωνίας: Loosen the adjustment screws on the camera body to set the desired viewing angle. Tighten the screws once the angle is satisfactory.

Image 4.1: Camera dimensions and mounting diagram for installation planning.
4.2. Σύνδεση καλωδίου
Connect the necessary cables to the camera:
- Καλώδιο Ethernet: Connect a standard Ethernet cable (RJ45) to the camera's network port. Use the waterproof connector to protect the connection if exposed to weather.
- Καλώδιο ρεύματος: Connect the power adapter to the camera's power input. Ensure the connection is secure.

Image 4.2: Close-up of an Ethernet cable connector, similar to what is used for the camera's network connection.
4.3. Αρχική ενεργοποίηση
Once all cables are connected, plug the power adapter into an electrical outlet. The camera will power on and initiate its startup sequence. Observe any indicator lights for status.
5. Οδηγίες λειτουργίας
5.1. Network Configuration and Access
The Vivotek IB9380-H supports Wi-Fi connectivity. For initial setup, it is recommended to connect via Ethernet to configure network settings.
- Ανακαλύψτε την κάμερα: Use the Vivotek IP Search utility or your network router's client list to find the camera's assigned IP address.
- Πρόσβαση Web Διεπαφή: Ανοίξτε α web browser and enter the camera's IP address. Log in using the default credentials (refer to the Quick Installation Guide for details).
- Ρύθμιση παραμέτρων Wi-Fi: Navigate to the network settings within the web interface. Select your Wi-Fi network, enter the password, and save the settings. Once configured, you may disconnect the Ethernet cable if desired.
5.2. Ζωντανά View και ηχογράφηση
After network setup, you can access the camera's live feed and configure recording options.
- Ζω View: Από το web interface or a compatible mobile application, select the camera to view η ζωντανή του μετάδοση.
- Ρύθμιση εγγραφής: Configure recording schedules, continuous recording, or event-triggered recording (e.g., motion detection). Recordings can be stored on a network video recorder (NVR) or a local storage device if supported.
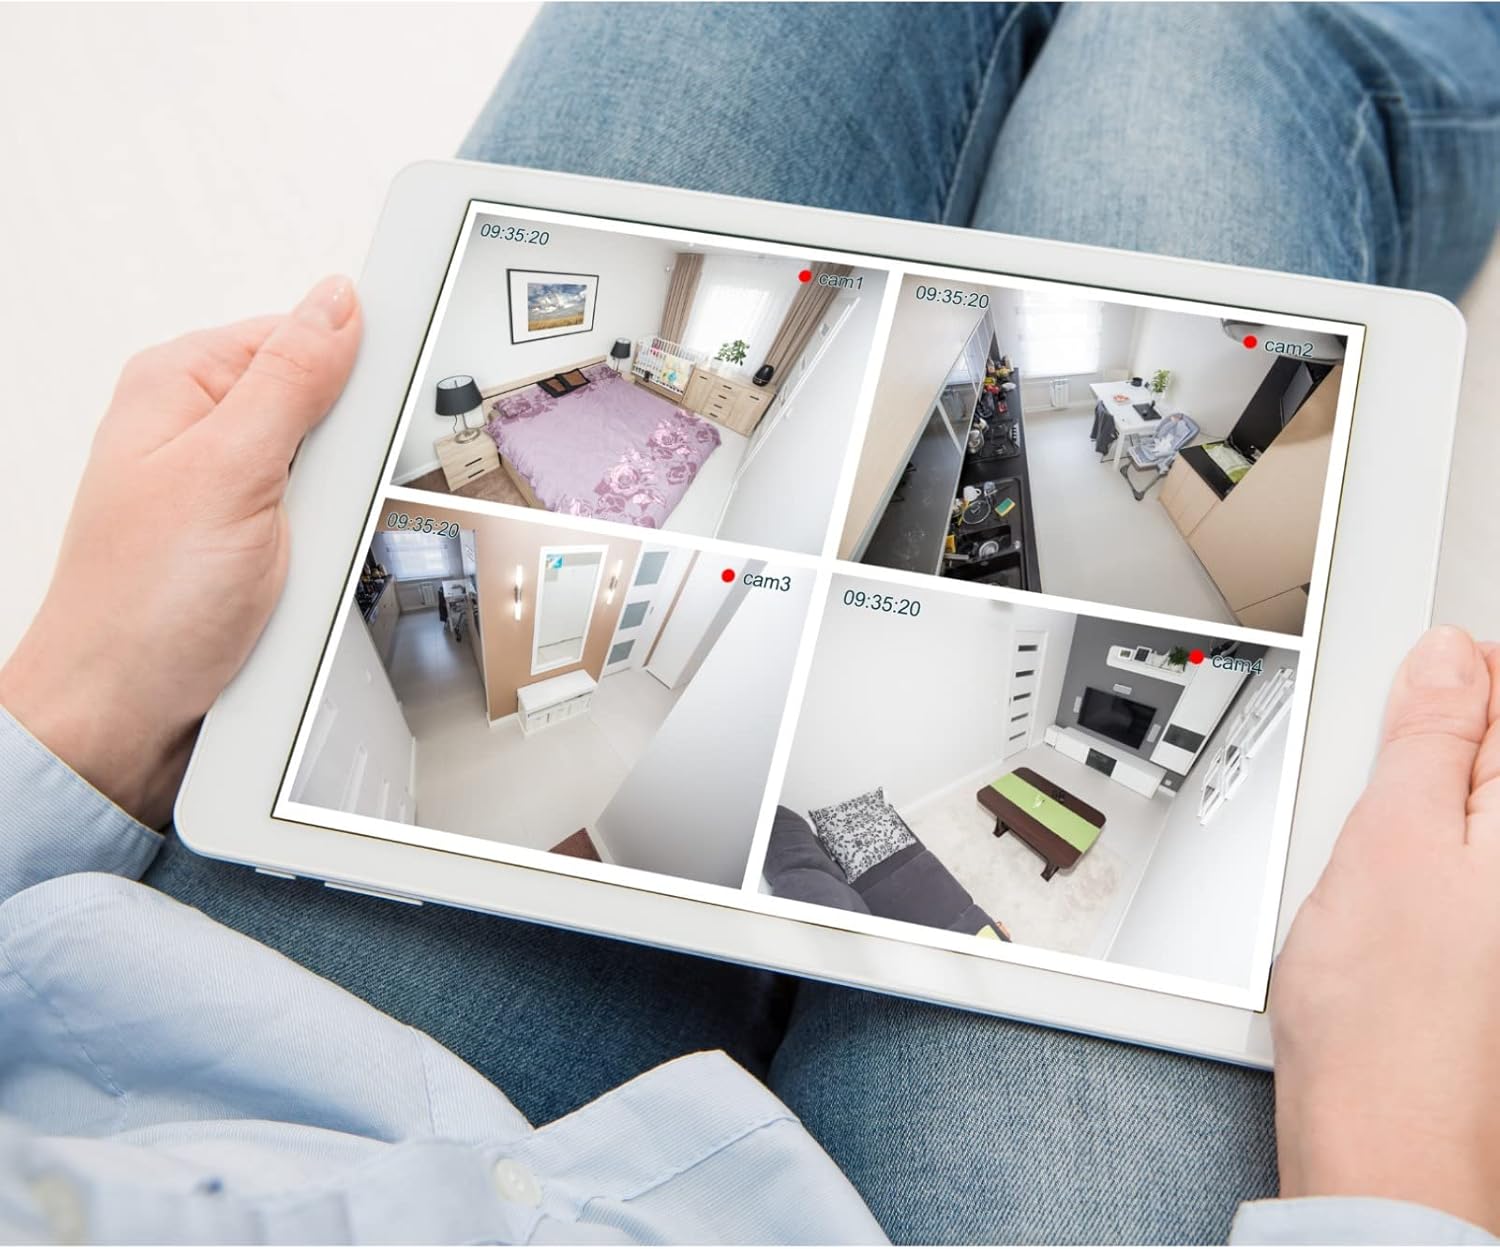
Εικόνα 5.1: Πρώηνample of a tablet displaying multiple camera feeds, illustrating remote monitoring capabilities.
5.3. Motion Detection Setup
The camera supports motion-only alerts.
- Access Alert Settings: In the camera's web interface, navigate to the event or alert settings section.
- Configure Motion Detection: Enable motion detection and define the detection zones and sensitivity levels.
- Set Actions: Specify actions to be taken upon motion detection, such as recording, sending email notifications, or triggering alarms.
5.4. Νυχτερινή όραση
The camera features IR (Infrared) and Night Color low light technology for clear imaging in various lighting conditions. These features typically activate automatically based on ambient light levels.
6. Συντήρηση
- Καθαρισμός φακού: Gently wipe the camera lens with a soft, clean cloth. For stubborn dirt, use a lens cleaning solution designed for optical surfaces. Do not use abrasive cleaners.
- Ενημερώσεις υλικολογισμικού: Ελέγχετε περιοδικά το Vivotek webΙστότοπος για ενημερώσεις υλικολογισμικού. Η ενημέρωση του υλικολογισμικού διασφαλίζει βέλτιστη απόδοση, ασφάλεια και πρόσβαση σε νέες λειτουργίες.
- Περιβαλλοντικός Έλεγχος: Regularly inspect the camera and its mounting for any signs of wear, damage, or loose connections, especially after severe weather conditions.
- Κύκλος ισχύος: If the camera experiences minor issues, try power cycling it by disconnecting and reconnecting the power supply.
7. Αντιμετώπιση Προβλημάτων
| Πρόβλημα | Πιθανή αιτία | Διάλυμα |
|---|---|---|
| Χωρίς Δύναμη | Ο προσαρμογέας ρεύματος είναι αποσυνδεδεμένος ή ελαττωματικός· πρόβλημα με την πρίζα. | Check power connections. Test the outlet with another device. Try a different power adapter if available. |
| Δεν υπάρχει ροή βίντεο | Network connection issue; incorrect IP address; camera not configured. | Verify network cable connection or Wi-Fi settings. Confirm camera's IP address. Ensure camera is properly configured in your viewλογισμικό. |
| Κακή ποιότητα εικόνας | Βρώμικος φακός· συνθήκες χαμηλού φωτισμού· λανθασμένες ρυθμίσεις ανάλυσης. | Clean the camera lens. Ensure sufficient lighting or verify night vision is active. Check video resolution settings in the camera's interface. |
| Η ανίχνευση κίνησης δεν λειτουργεί | Motion detection disabled; incorrect sensitivity; detection zones not set. | Enable motion detection in settings. Adjust sensitivity and define detection zones. |
8. Προδιαγραφές
| Χαρακτηριστικό | Λεπτομέρεια |
|---|---|
| Μοντέλο | IB9380-H |
| Αποτελεσματική σταθερή ανάλυση | 5 MP |
| Ανάλυση λήψης βίντεο | 1080p |
| Ρυθμός καρέ | 20 fps |
| Τεχνολογία χαμηλού φωτισμού | Χρώμα νύχτας |
| Form Factor | Σφαίρα |
| Εσωτερική/Εξωτερική χρήση | Υπαίθριος |
| Τύπος τοποθέτησης | Βάση τοίχου |
| Ασύρματη Επικοινωνία | Wi-Fi |
| Πρωτόκολλο συνδεσιμότητας | Wi-Fi |
| Πηγή ισχύος | AC/DC |
| Wattage | 3.5 watt |
| Τύπος ειδοποίησης | Μόνο κίνηση |
| Μέθοδος Ελέγχου | Μακρινός |
| Διαστάσεις (Μ x Π x Υ) | 3.59 x 3.59 x 6.96 ίντσες |
| Διεθνής αξιολόγηση προστασίας | IP9380 |
| UPC | 655255870887, 681541834035 |
9. Πληροφορίες εγγύησης
This Vivotek product is covered by a manufacturer's limited warranty. Please refer to the warranty card included in your package or visit the official Vivotek webιστότοπος για λεπτομερείς όρους και προϋποθέσεις σχετικά με την κάλυψη της εγγύησης, τη διάρκεια και τις διαδικασίες υποβολής αιτήσεων. Κρατήστε την απόδειξη αγοράς για την υπηρεσία εγγύησης.
10. Υποστήριξη πελατών
For technical assistance, troubleshooting beyond this manual, or warranty inquiries, please contact Vivotek customer support. You can typically find contact information (phone, email, support portal) on the official Vivotek webστον ιστότοπο ή στην τεκμηρίωση που παρέχεται με το προϊόν σας.
Διαδικτυακοί πόροι: www.vivotek.com


