1. Εισαγωγή
Thank you for choosing the NEDIS Automatic Lead Acid Battery Charger, model BACCH02. This charger is designed for safe and efficient charging and maintenance of 2V, 6V, and 12V lead-acid batteries. Please read this manual thoroughly before use to ensure proper operation and to prevent damage to the charger or battery.
2. Οδηγίες ασφαλείας
Always observe the following safety precautions when using the battery charger:
- This charger is for indoor use only. Do not expose to rain or moisture.
- Να φυλάσσεται μακριά από παιδιά.
- Βεβαιωθείτε ότι υπάρχει επαρκής αερισμός κατά τη φόρτιση για να αποτρέψετε τη συσσώρευση αερίων.
- Avoid sparks, flames, or smoking near the battery during charging. Batteries can produce explosive gases.
- Όταν εργάζεστε με μπαταρίες, φοράτε προστατευτικά για τα μάτια και προστατευτικό ρουχισμό.
- Always disconnect the AC power supply before connecting or disconnecting the battery clamps.
- Συνδέστε το κόκκινο (+) clamp στον θετικό πόλο της μπαταρίας και το μαύρο (-) clamp στον αρνητικό πόλο της μπαταρίας.
- Do not attempt to charge frozen, damaged, or non-rechargeable batteries.
- Μην ανοίγετε το φορτιστή casinζ. Αναθέστε όλες τις εργασίες σέρβις σε εξειδικευμένο προσωπικό.
- Εάν το καλώδιο τροφοδοσίας είναι κατεστραμμένο, πρέπει να αντικατασταθεί από τον κατασκευαστή, τον αντιπρόσωπο σέρβις του ή παρόμοια εξειδικευμένα άτομα για την αποφυγή κινδύνου.
3. Το προϊόν τελείωσεview
The NEDIS BACCH02 is a compact and automatic battery charger. It features a main unit with LED indicators and a voltage selection switch, connected to an AC power cable and DC output cables with battery clamps.

Image: The main unit of the NEDIS BACCH02 charger, showing the LED indicators for polarity and charge status, and the voltage διακόπτης επιλογής.
Συστατικά:
- Μονάδα φορτιστή: Main body containing the electronics.
- Τομtage Διακόπτης επιλογής: Allows selection between 2V, 6V, and 12V charging modes.
- Polarity LED (Red): Indicates incorrect battery connection.
- Charge LED (Green): Indicates charging status (blinking for charging, solid for fully charged).
- Μπαταρία Clamps: Red (+) and Black (-) for connecting to the battery terminals.
- Καλώδιο τροφοδοσίας AC: Για σύνδεση σε πρίζα τοίχου.
4. Ρύθμιση
Ακολουθήστε αυτά τα βήματα για να ρυθμίσετε τον φορτιστή μπαταρίας σας:
- Ensure Charger is Unplugged: Before making any connections, ensure the charger's AC power cable is disconnected from the wall outlet.
- Identify Battery Voltage: Καθορίστε το voltage of the battery you intend to charge (2V, 6V, or 12V).
- Select Correct Voltage: Χρησιμοποιήστε τον τόμtage selection switch on the charger unit to set the appropriate voltage (2V, 6V, or 12V) for your battery.
- Σύνδεση μπαταρίας Clamps:
- Συνδέστε το κόκκινο (+) μπαταρία clamp στον θετικό (+) πόλο της μπαταρίας.
- Συνδέστε το μαύρο (-) μπαταρία clamp στον αρνητικό (-) πόλο της μπαταρίας.
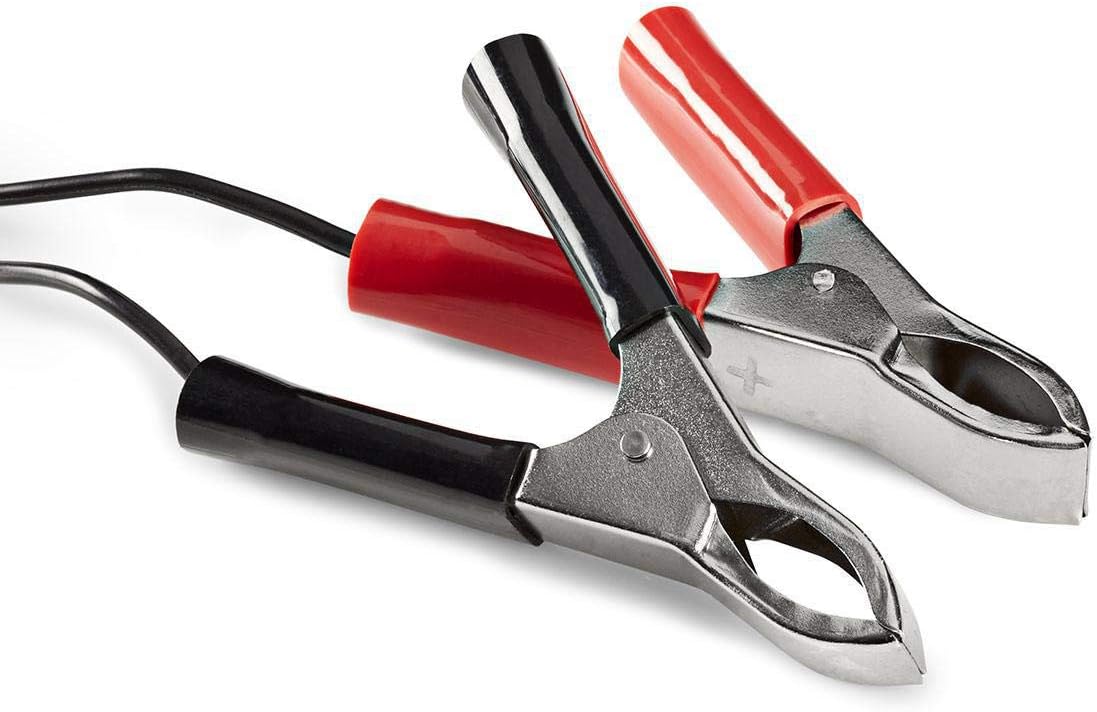
Image: Close-up of the red (positive) and black (negative) battery clamps.
- Σύνδεση στο Power: Μόλις κλείσει η μπαταρίαamps are securely connected, plug the charger's AC power cable into a standard 220V wall outlet.
5. Οδηγίες λειτουργίας
The NEDIS BACCH02 is a fully automatic charger. Once connected to the battery and power, it will automatically begin the charging process.
Διαδικασία φόρτισης:
- Έλεγχος πολικότητας: If the red 'Polarity' LED illuminates, it indicates that the battery clamps are connected incorrectly. Immediately unplug the charger from the AC outlet and correct the connections before plugging it back in.
- Ένδειξη φόρτισης: The green 'Charge' LED will blink when the battery is actively charging.
- Ένδειξη πλήρους φόρτισης: When the battery is fully charged, the green 'Charge' LED will stop blinking and remain solid. The charger will then automatically switch to a maintenance (float) charge mode to keep the battery at optimal capacity without overcharging.
Αποσύνδεση του φορτιστή:
To disconnect the charger after use:
- Unplug the charger's AC power cable from the wall outlet first.
- Disconnect the black (-) battery clamp from the negative terminal of the battery.
- Disconnect the red (+) battery clamp από τον θετικό πόλο της μπαταρίας.
6. Συντήρηση
Η σωστή συντήρηση διασφαλίζει τη μακροζωία του φορτιστή σας:
- Keep the charger clean and dry. Wipe with a soft, dry cloth. Do not use abrasive cleaners or solvents.
- Αποθηκεύστε το φορτιστή σε δροσερό, ξηρό μέρος όταν δεν χρησιμοποιείται.
- Regularly inspect the AC power cable, DC output cables, and battery clamps για τυχόν σημάδια ζημιάς, φθοράς ή διάβρωσης. Αντικαταστήστε εάν είναι απαραίτητο.
7. Αντιμετώπιση Προβλημάτων
Εάν αντιμετωπίσετε προβλήματα με τον φορτιστή σας, ανατρέξτε στον παρακάτω πίνακα:
| Πρόβλημα | Πιθανή αιτία | Διάλυμα |
|---|---|---|
| Ο φορτιστής δεν ενεργοποιείται / Δεν ανάβουν οι λυχνίες LED | No power supply; Faulty outlet; Damaged cable. | Check AC power connection; Try a different outlet; Inspect cable for damage. |
| Red 'Polarity' LED is lit | Σύνδεση αντίστροφης πολικότητας. | Unplug charger, correct battery clamp connections (red to +, black to -), then plug back in. |
| Green 'Charge' LED not blinking / Battery not charging | Battery too deeply discharged; Incorrect voltage selected; Damaged battery. | Βεβαιωθείτε ότι το σωστό voltage is selected; Battery may be beyond recovery; Have battery tested by a professional. |
| Charger unit feels excessively hot | Normal operation (some warmth is expected); Overload; Internal fault. | Ensure adequate ventilation; Disconnect immediately if excessively hot and contact support. |
8. Προδιαγραφές
| Χαρακτηριστικό | Προσδιορισμός |
|---|---|
| Μοντέλο | BACCH02 |
| Αριθμός μοντέλου είδους | 5412810284245 |
| Είσοδος Voltage | 220V AC |
| Έξοδος Τόμοςtage | 2V / 6V / 12V DC (selectable) |
| Suitable Battery Capacity | 2.2 Ah έως 10 Ah |
| Χαρακτηριστικά προστασίας | Αντίστροφη πολικότητα, βραχυκύκλωμα |
| Διαστάσεις προϊόντος (Μ x Π x Υ) | 7 x 10 x 6 εκ |
| Βάρος αντικειμένου | 680 γρ |
| Συμμόρφωση | CE |
| Χρώμα | Μαύρος |
9. Εγγύηση και υποστήριξη
This product is covered by the standard warranty terms provided by the retailer at the time of purchase. For specific warranty details, please refer to your purchase documentation or contact the retailer directly.
For technical support, troubleshooting assistance beyond what is provided in this manual, or inquiries regarding parts and service, please contact your point of purchase or the manufacturer's customer service department.